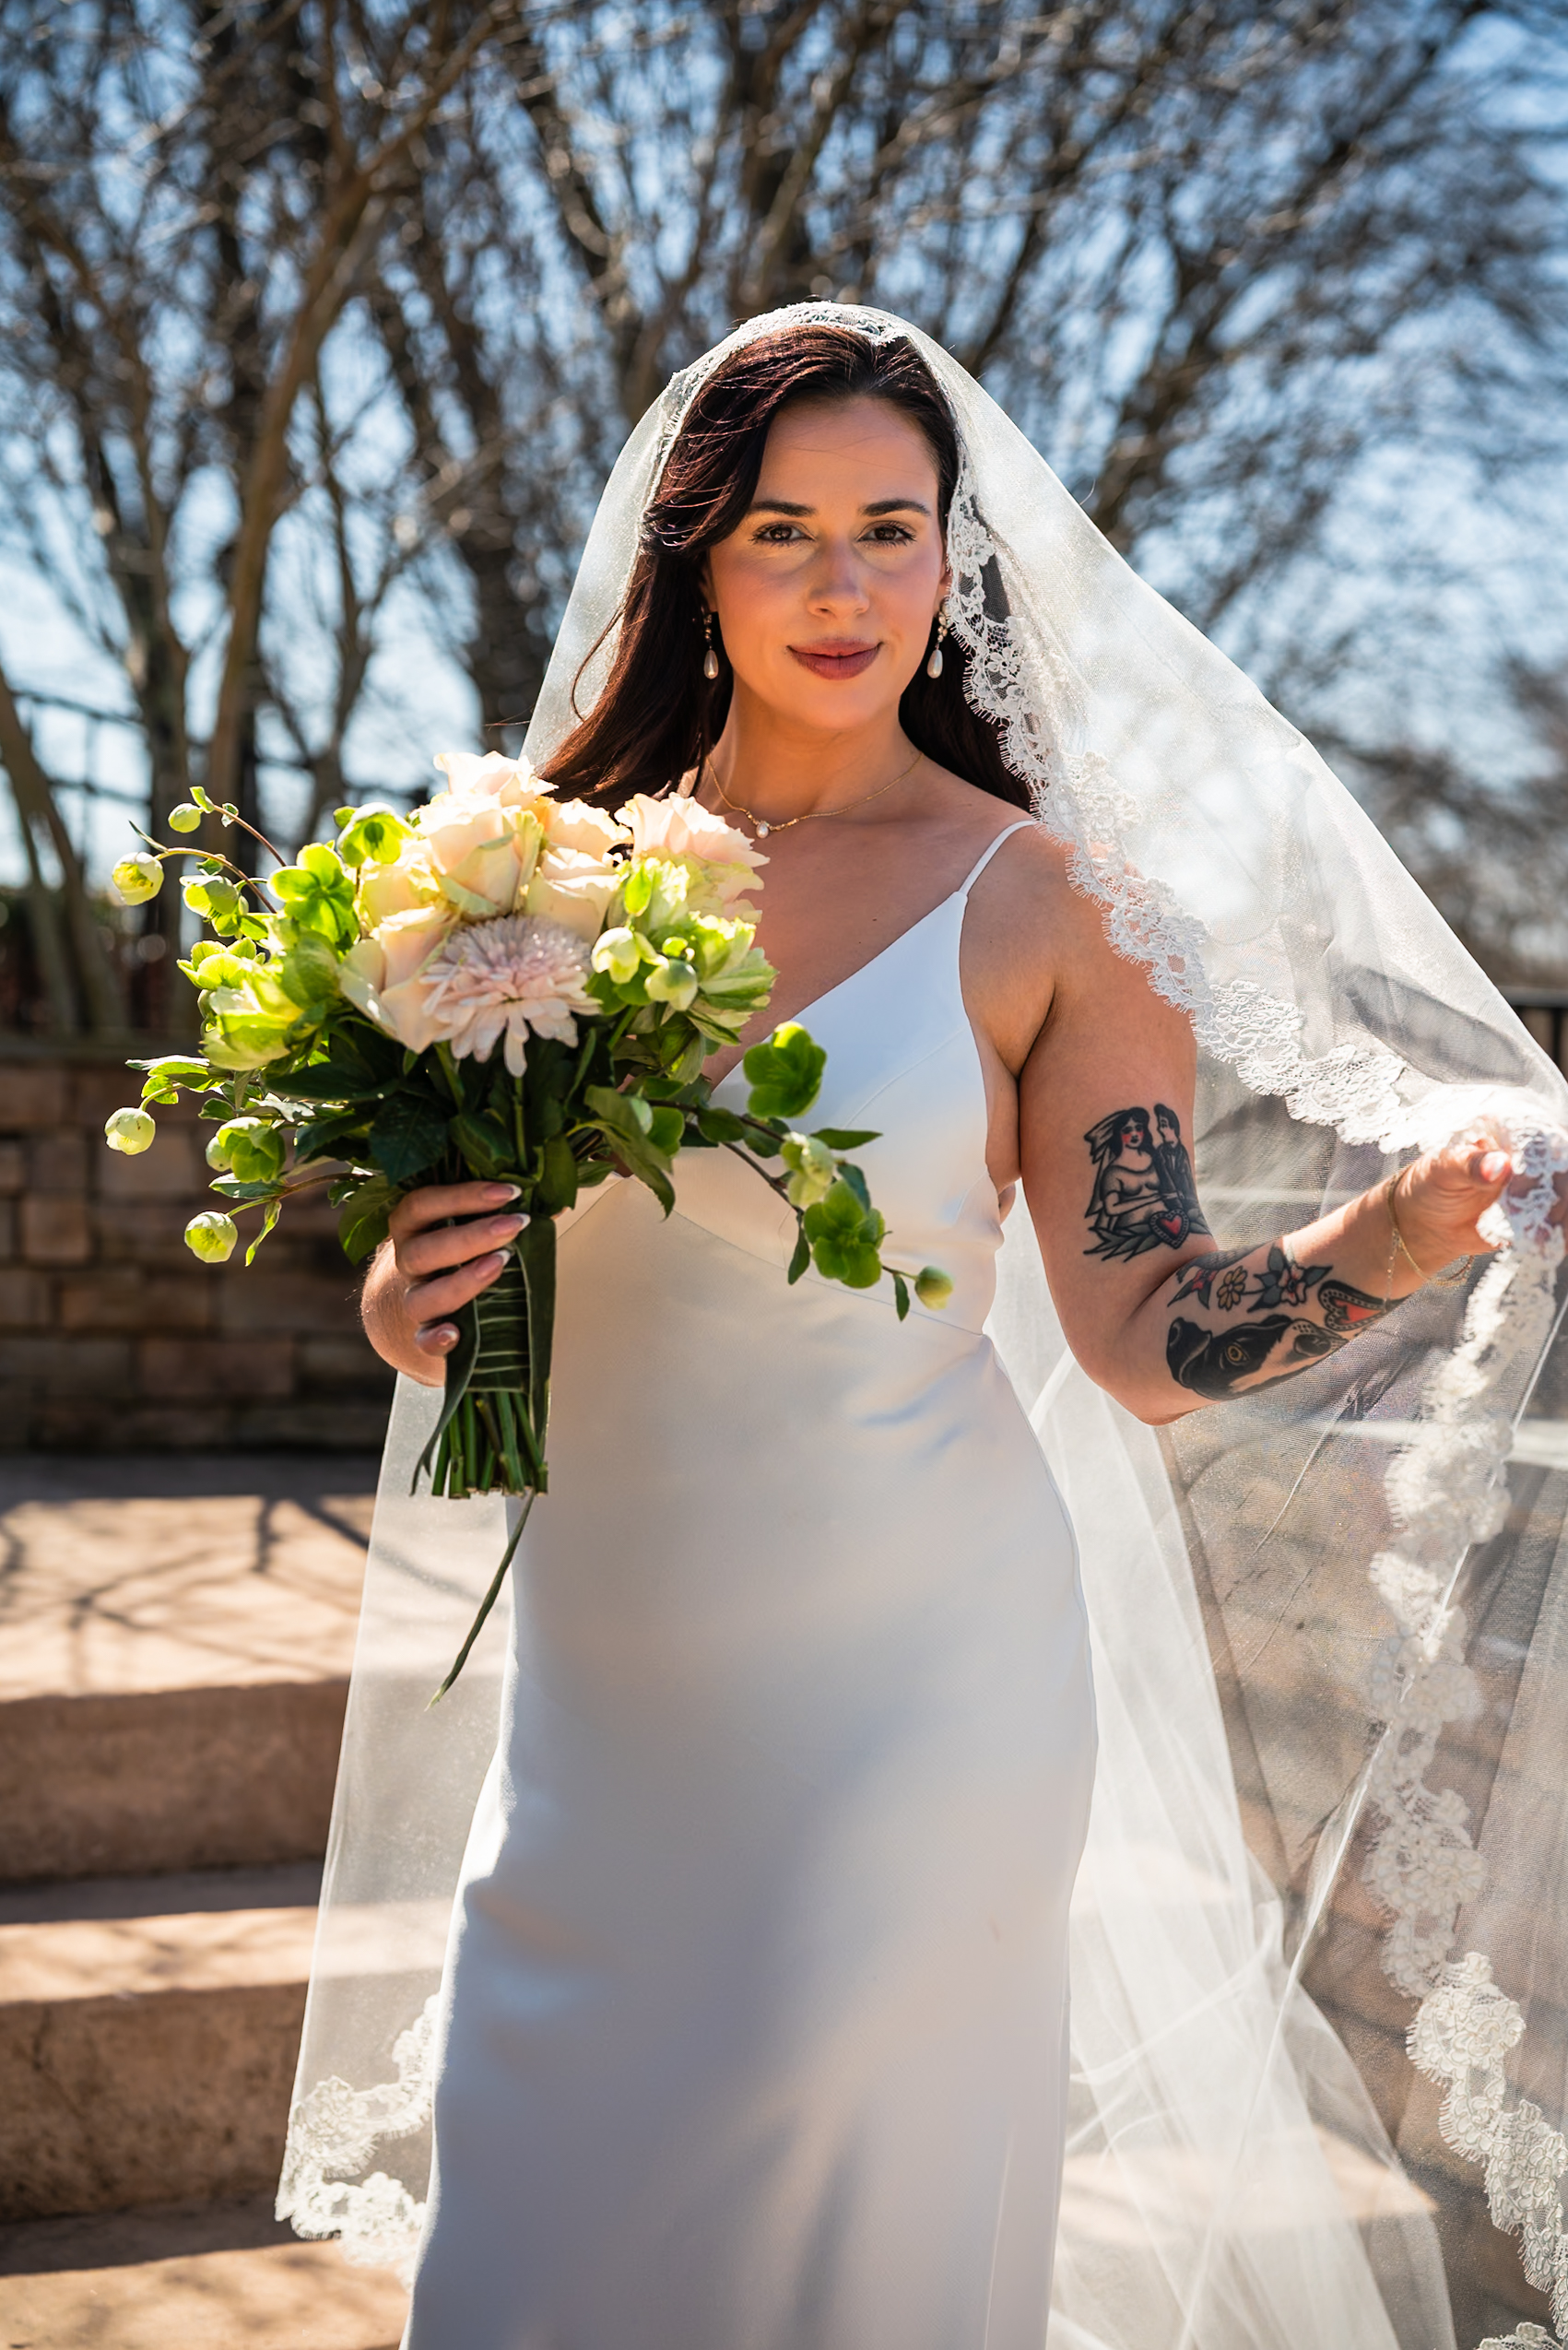

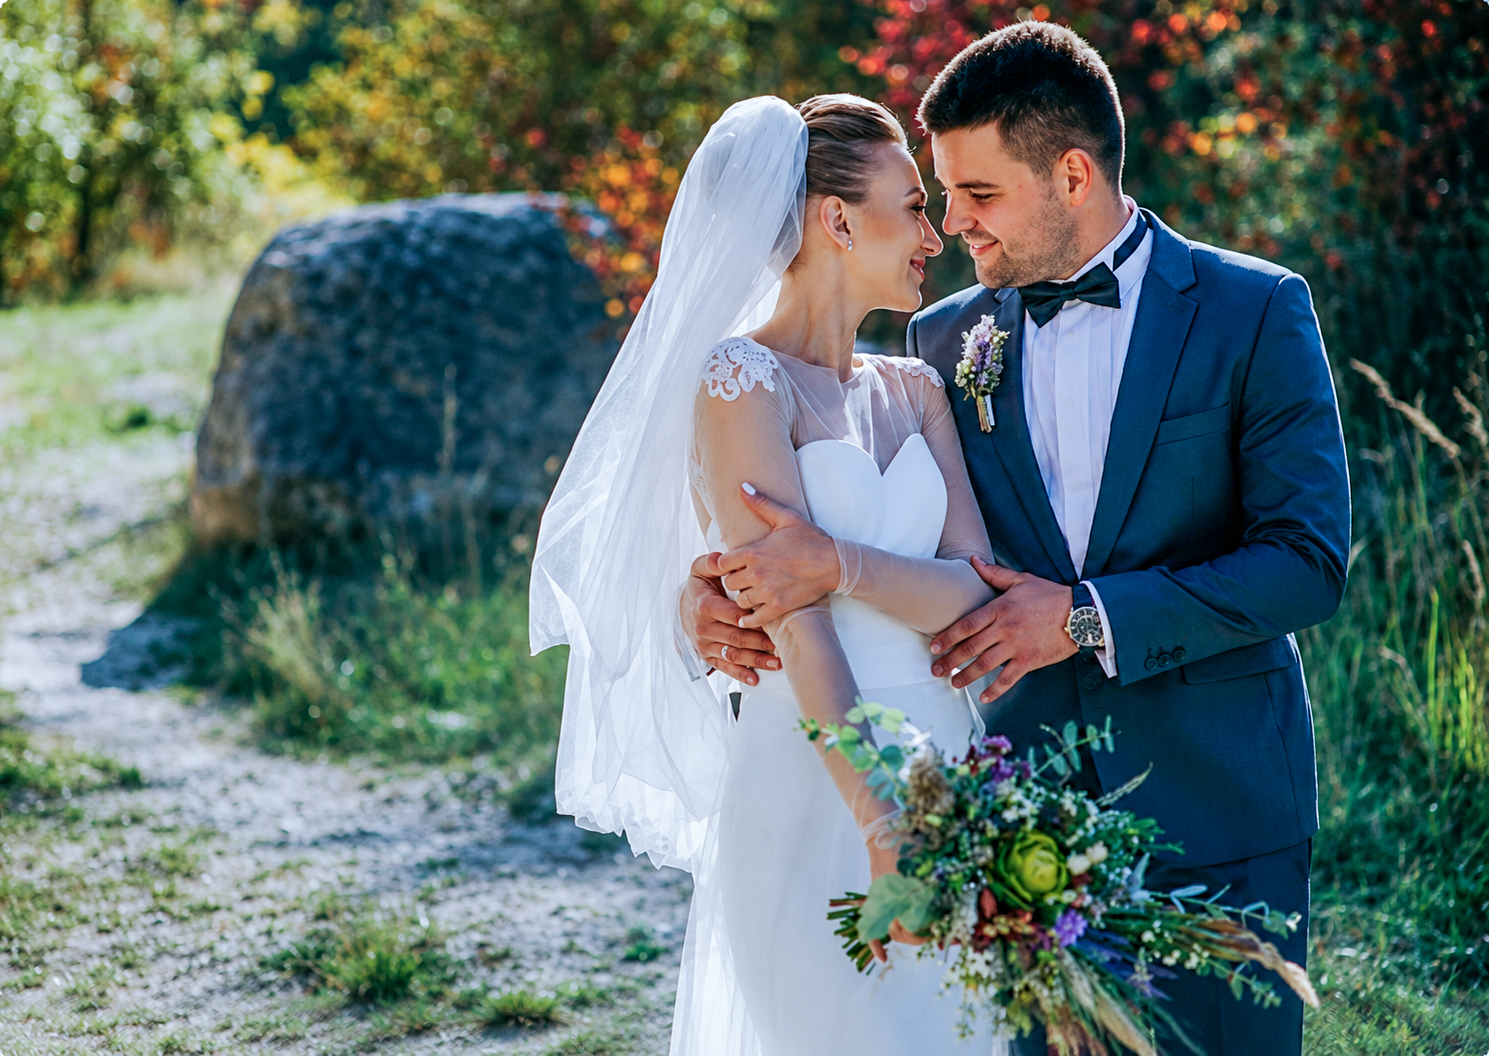

Wedding Photo Color Correction Checklist for Photographers
Color correction is one of the most important steps in wedding photo editing. Accurate colors and natural skin tones help create a polished gallery that looks consistent from start to finish. Use this quick checklist to speed up your workflow and avoid common editing mistakes.
Wedding Color Correction Checklist
1. Check White Balance
Remove unwanted yellow, green, or blue color casts.
Match indoor and outdoor images as closely as possible.
Use neutral areas such as a white dress or gray object for reference.
2. Adjust Exposure
Ensure the bride’s dress retains detail.
Avoid blown highlights and overly dark shadows.
Keep exposure consistent across similar scenes.
3. Correct Skin Tones
Skin should look natural and not overly orange or pink.
Check different lighting conditions separately.
Compare group photos to ensure everyone looks balanced.
4. Balance Highlights and Shadows
Recover highlight details in bright areas.
Lift shadows carefully without introducing noise.
Maintain a natural contrast level.
5. Match Colors Across the Gallery
Synchronize edits for images taken in the same location.
Keep greens, blues, and warm tones consistent.
Use presets as a starting point, not a final solution.
6. Review Black-and-White Conversions
Ensure good tonal contrast.
Preserve detail in the dress and suit.
Avoid flat or muddy grayscale images.
7. Zoom In for Final Quality Check
Check for color banding or noise.
Look for uneven skin tones.
Verify that exported files match your editing software preview.
Quick Export Settings
Color Space: sRGB
File Format: JPEG (high quality)
Resolution: 300 DPI for print
Sharpening: Standard for print or screen
Conclusion
A consistent wedding photo color correction workflow helps photographers deliver professional galleries faster and with fewer revisions. By checking white balance, exposure, skin tones, and overall color consistency before export, you can ensure every wedding collection looks polished and true to your brand.